Are you looking for some exciting home decor ideas to try in 2020? Look no further! In this video by treshaja, she shares her top 10 DIY home decor projects that she has created this year. From beautiful abstract wall art to a board and batten grid accent wall, there’s something for everyone. You can find all the details and links to each project in the video description. With step-by-step instructions and helpful tips along the way, these projects are perfect for beginners and those looking to add a personal touch to their living spaces. So, why not get creative and try out some of these amazing DIY ideas for your home? You’re sure to transform your living space into something truly unique and stylish.
Abstract Wall Art
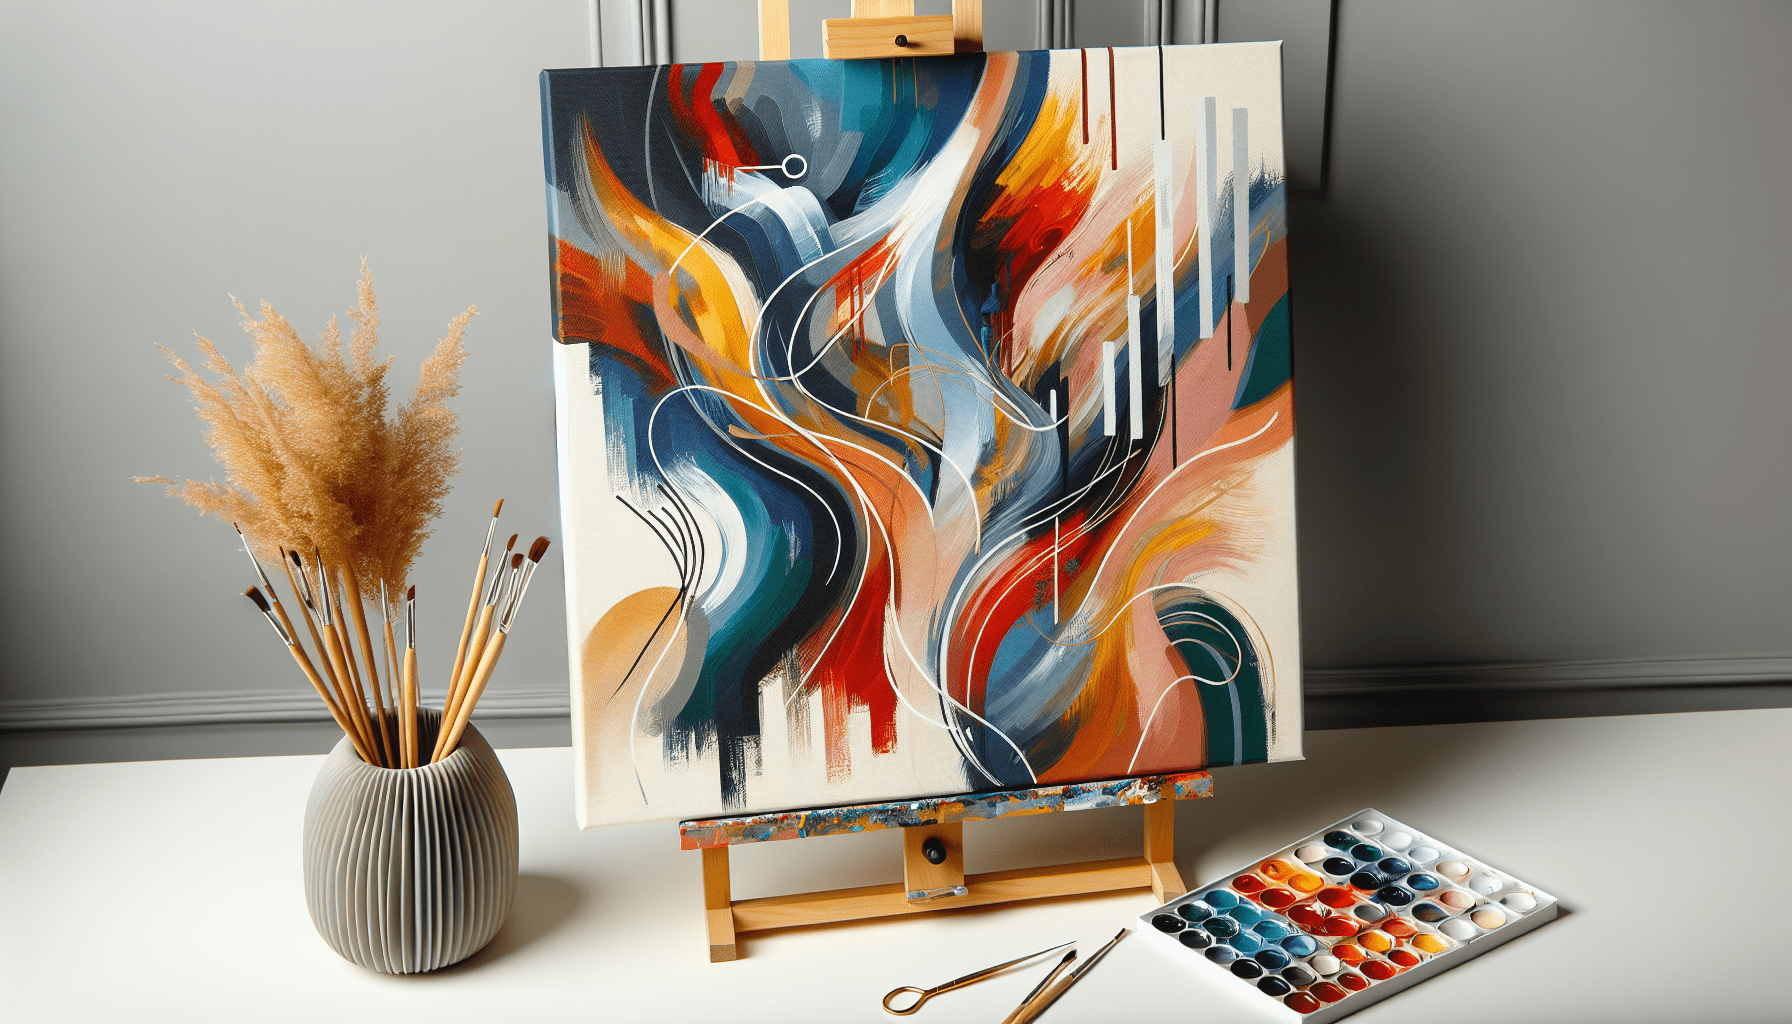
How to Make Beautiful Abstract Wall Art Using a Common Tool
Abstract wall art is a great way to add a unique and artistic touch to your home decor. In this DIY project, I will show you how to create beautiful abstract wall art using a common tool that you probably already have at home.
To create this abstract wall art, you will need the following materials and tools:
- Acrylic paint
- Gold metallic spray paint
- Hot glue gun
- Canvas
Here are the step-by-step instructions to create your own abstract wall art:
- Start by choosing your colors. You can use any color combination that you like.
- Take the canvas and decide on the size and shape of your design.
- Use the hot glue gun to draw your design onto the canvas. The glue acts as a barrier, allowing the paint to create interesting textures.
- Let the glue dry completely.
- Once the glue is dry, use a sponge brush to apply a base coat of acrylic paint onto the canvas.
- Let the paint dry and then apply a layer of gold metallic spray paint for a shiny and elegant finish.
And there you have it! Your beautiful abstract wall art is complete. Hang it on your wall to add a pop of color and creativity to any space in your home.
Board and Batten Accent Wall
How to DIY Board and Batten Grid Accent Wall
If you’re looking to update the look of a room in your home, a board and batten accent wall is a great option. This project adds depth and texture to any space and is relatively easy to achieve with the right materials and tools.
To create a board and batten accent wall, you will need the following materials and tools:
- Wood filler
- 1×2 inch wood pieces
- MDF board
- Brad nails
- Liquid nails
- Miter saw or miter box
- Sponge brush
- Parchment paper
- Scissors
- Paint
Follow these step-by-step instructions to create your own board and batten accent wall:
- Start by measuring the width and height of the wall you want to transform.
- Purchase MDF board and cut it to the desired length using a miter saw or miter box.
- Attach the MDF board to the wall using liquid nails and brad nails.
- Measure and cut the 1×2 inch wood pieces to create the batten pattern.
- Attach the wood pieces to the wall using liquid nails and brad nails.
- Once the adhesive has dried, fill any cracks or gaps with wood filler.
- Sand the entire wall to create a smooth surface.
- Apply a base coat of paint using a sponge brush.
- Let the paint dry and then add a second coat for a finished look.
With these simple steps, you can create a stunning board and batten accent wall that will transform any room in your home.
Picture Frame
How to Make a Picture Frame
Creating your own picture frame is a great way to showcase your favorite photos or artwork. It allows you to customize the frame to your exact specifications and can be a fun and rewarding DIY project.
To make your own picture frame, you will need the following materials and tools:
- Wood pieces
- Miter saw or miter box
- Wood glue
- Brad nails
- Sandpaper
- Paint or stain
- Picture frame hardware
Follow these step-by-step instructions to create your own picture frame:
- Start by determining the dimensions of your picture frame. Measure the length and width of the artwork or photo you want to frame.
- Using a miter saw or miter box, cut the wood pieces to the desired length, making sure to cut them at a 45-degree angle at each corner.
- Apply wood glue to the cut edges of the wood pieces and join them together to form the frame.
- Secure the frame with brad nails, making sure to countersink them to create a seamless finish.
- Fill any nail holes or gaps with wood filler and sand the frame smooth.
- Apply paint or stain to the frame to match your desired color or finish.
- Once the paint or stain has dried, attach the appropriate picture frame hardware, such as hangers or wire, to the back of the frame.
And there you have it! Your own custom picture frame is complete. Now you can proudly display your favorite photos or artwork in a frame that you made yourself.
3D Dollar Tree Wall Art
DIY 3D Dollar Tree Wall Art
If you’re on a budget but still want to create eye-catching wall art, look no further than the dollar store. In this DIY project, I will show you how to create 3D wall art using Dollar Tree tower game blocks.
To create this 3D wall art, you will need the following materials and tools:
- Dollar tree tower game blocks
- Hot glue gun
- Wood filler
- Sandpaper
- Paint
Follow these step-by-step instructions to create your own 3D Dollar Tree wall art:
- Start by arranging the Dollar Tree tower game blocks in the desired pattern or shape.
- Use a hot glue gun to attach the blocks together, creating a solid structure.
- Once the glue has dried, fill any cracks or gaps with wood filler.
- Once the wood filler has dried, sand the entire piece to create a smooth surface.
- Apply a base coat of paint in the color of your choice.
- Let the paint dry and then add additional coats for a finished look.
And there you have it! Your own 3D Dollar Tree wall art is complete. Hang it on your wall to add a unique and affordable piece to your home decor.
Starburst Wall Art
How to Make Starburst Wall Art
Starburst wall art is a popular and stylish choice for adding a touch of glam to any space. In this DIY project, I will show you how to create your own starburst wall art using simple materials.
To create starburst wall art, you will need the following materials and tools:
- Wood dowels
- Wood glue
- Gold metallic spray paint
- Hot glue gun
- Mirror or center object
- Picture frame hardware
Follow these step-by-step instructions to create your own starburst wall art:
- Start by cutting wood dowels into equal lengths. The length will depend on the desired size of your starburst.
- Once the dowels are cut, arrange them in a starburst pattern, with the mirror or center object in the middle.
- Use wood glue to attach the dowels together at the center, creating the starburst shape.
- Let the glue dry completely.
- Spray paint the entire starburst with gold metallic paint.
- Once the paint has dried, attach picture frame hardware to the back of the starburst for hanging.
And there you have it! Your own starburst wall art is complete. Hang it on your wall to add a touch of elegance and style to any room.
Glue String Wall Art
How to Make Glue String Wall Art
Glue string wall art is a unique and creative way to add texture and visual interest to your walls. In this DIY project, I will show you how to create your own glue string wall art using simple materials.
To create glue string wall art, you will need the following materials and tools:
- Frame
- Hot glue gun
- Parchment paper
- Scissors
- Gold metallic spray paint
Follow these step-by-step instructions to create your own glue string wall art:
- Start by preparing the frame. Remove the backing and paint it in a color of your choice. Let it dry completely.
- Cut a piece of parchment paper and fold it in half lengthwise. This will make it easier to handle.
- Draw a design or pattern onto the parchment paper using a pencil.
- Heat up a hot glue gun and trace over the pencil lines, creating raised glue strings.
- Let the glue dry for about 10 minutes.
- Carefully peel the glue strings off the parchment paper.
- Repeat steps 3-6 to create multiple layers of glue strings.
- Once you have the desired number of layers, spray paint the glue strings with gold metallic paint.
- Let the paint dry and then attach the glue strings to the backing of the frame using hot glue.
- Trim any excess glue strings using scissors.
- Place the backing back into the frame, and your glue string wall art is ready to hang.
And there you have it! Your own glue string wall art is complete. Hang it on your wall to create a unique and visually appealing focal point.
Materials and Tools Used
To create these DIY home decor projects, you will need a variety of materials and tools. Here is a list of some of the commonly used items:
- Acrylic paint: Used for painting canvases or adding color to various projects.
- Gold metallic spray paint: Adds a shiny and elegant finish to surfaces.
- Hot glue gun: Used for attaching various materials together.
- Wood filler: Fills cracks and gaps in wood surfaces for a smooth finish.
- Canvas: Provides a surface for creating artwork or wall hangings.
- Dollar tree tower game blocks: Affordable building blocks for creating 3D wall art.
- 1×2 inch wood pieces: Used for framing projects or adding structure to wall art.
- MDF board: Provides a solid backing for various projects.
- Brad nails: Used with a nail gun to secure wood pieces together.
- Liquid nails: Strong adhesive used for attaching various materials.
- Miter saw or miter box: Used for cutting wood at precise angles.
- Sponge brush: Provides a smooth application of paint.
- Parchment paper: Used for creating glue string designs.
- Scissors: Used for cutting various materials.
- Frame: Holds artwork or photos and adds a finished look to projects.
These materials and tools can be easily found at your local craft or hardware store, making it convenient to create these DIY home decor projects.
Step-by-Step Instructions
Now that you have an overview of the various DIY projects and the materials and tools needed, let’s dive into the step-by-step instructions for each project. Follow these instructions carefully to achieve the best results:
Abstract Wall Art:
- Choose your colors and gather your materials.
- Decide on the size and shape of your design.
- Use a hot glue gun to create your design on the canvas.
- Let the glue dry completely.
- Apply a base coat of acrylic paint using a sponge brush.
- Once the paint is dry, apply a layer of gold metallic spray paint for a shiny finish.
Board and Batten Accent Wall:
- Measure the width and height of the wall you want to transform.
- Purchase MDF board and cut it to size using a miter saw or miter box.
- Attach the MDF board to the wall using liquid nails and brad nails.
- Measure and cut the 1×2 inch wood pieces to create the batten pattern.
- Attach the wood pieces to the wall using liquid nails and brad nails.
- Fill any cracks or gaps with wood filler.
- Sand the entire wall for a smooth finish.
- Apply a base coat of paint using a sponge brush.
- Let the paint dry and add additional coats if needed.
Picture Frame:
- Determine the dimensions of your picture frame.
- Cut the wood pieces to size using a miter saw or miter box.
- Apply wood glue to the cut edges and join the pieces together.
- Secure the frame with brad nails.
- Fill any nail holes or gaps with wood filler.
- Sand the frame smooth.
- Apply paint or stain to the frame.
- Attach picture frame hardware to the back of the frame.
3D Dollar Tree Wall Art:
- Arrange the Dollar Tree tower game blocks in the desired pattern.
- Use a hot glue gun to attach the blocks together.
- Fill any cracks or gaps with wood filler.
- Sand the entire piece smooth.
- Apply a base coat of paint.
- Let the paint dry and add additional coats if needed.
Starburst Wall Art:
- Cut wood dowels into equal lengths.
- Arrange the dowels in a starburst pattern with a mirror or center object in the middle.
- Use wood glue to attach the dowels together.
- Let the glue dry completely.
- Spray paint the starburst with gold metallic paint.
- Attach picture frame hardware to the back for hanging.
Glue String Wall Art:
- Prepare the frame by removing the backing and painting it.
- Cut a piece of parchment paper and fold it in half lengthwise.
- Draw a design or pattern on the parchment paper.
- Trace over the design with a hot glue gun to create raised glue strings.
- Let the glue dry for about 10 minutes.
- Carefully peel the glue strings off the parchment paper.
- Repeat the process to create multiple layers of glue strings.
- Spray paint the glue strings with gold metallic paint.
- Attach the glue strings to the backing using hot glue.
- Trim any excess glue strings with scissors.
- Place the backing back into the frame and hang it on the wall.
Follow these detailed instructions for each DIY project to achieve the best results and create beautiful home decor pieces.
Tips and Tricks
Here are some helpful tips and tricks to ensure that your DIY home decor projects turn out beautifully:
Use a level to ensure straight lines:
When creating a board and batten accent wall or any project that requires straight lines, use a level to ensure that everything is evenly spaced and aligned. This will result in a professional-looking finished product.
Sand wood filler for a smooth finish:
After applying wood filler to fill cracks or gaps, allow it to dry completely and then lightly sand it to create a smooth and seamless finish. This will make a big difference in the overall appearance of your project.
Experiment with different paint colors:
Don’t be afraid to get creative with paint colors. Experiment with different shades and combinations to find the perfect color palette for your project. This will add a personal touch and make your DIY home decor pieces truly unique.
Adjust dimensions for custom frames:
If you’re creating your own picture frames, don’t be afraid to adjust the dimensions to fit your specific needs. Custom frames allow you to showcase artwork or photos in the exact size you want, rather than being limited by standard frame sizes.
Layer glue strings for added texture:
When creating glue string wall art, consider adding multiple layers of glue strings for added texture and depth. This will create a visually interesting piece that will stand out on your wall.
By following these tips and tricks, you can elevate your DIY home decor projects and achieve professional-looking results.
Conclusion
As we say goodbye to 2020, it’s a great time to reflect on some of the best DIY home decor projects of the year. In this article, we’ve covered a range of projects, from abstract wall art to board and batten accent walls and picture frames.
These projects provide a fun and creative way to add a personal touch to your home decor. Whether you’re a seasoned DIYer or just getting started, there’s something for everyone on this list.
We hope that you’ve found inspiration and useful tips in this article. Wishing you a happy new year and happy crafting!