Have you ever wondered how to perfectly hang metal wall art in your home? Look no further! In this step-by-step guide, we will walk you through the process, making it effortless and enjoyable. From choosing the right location to measuring and mounting, you’ll have your metal masterpiece proudly displayed in no time. So, roll up your sleeves, grab your tools, and let’s get started!
Step 1: Choose the Right Location
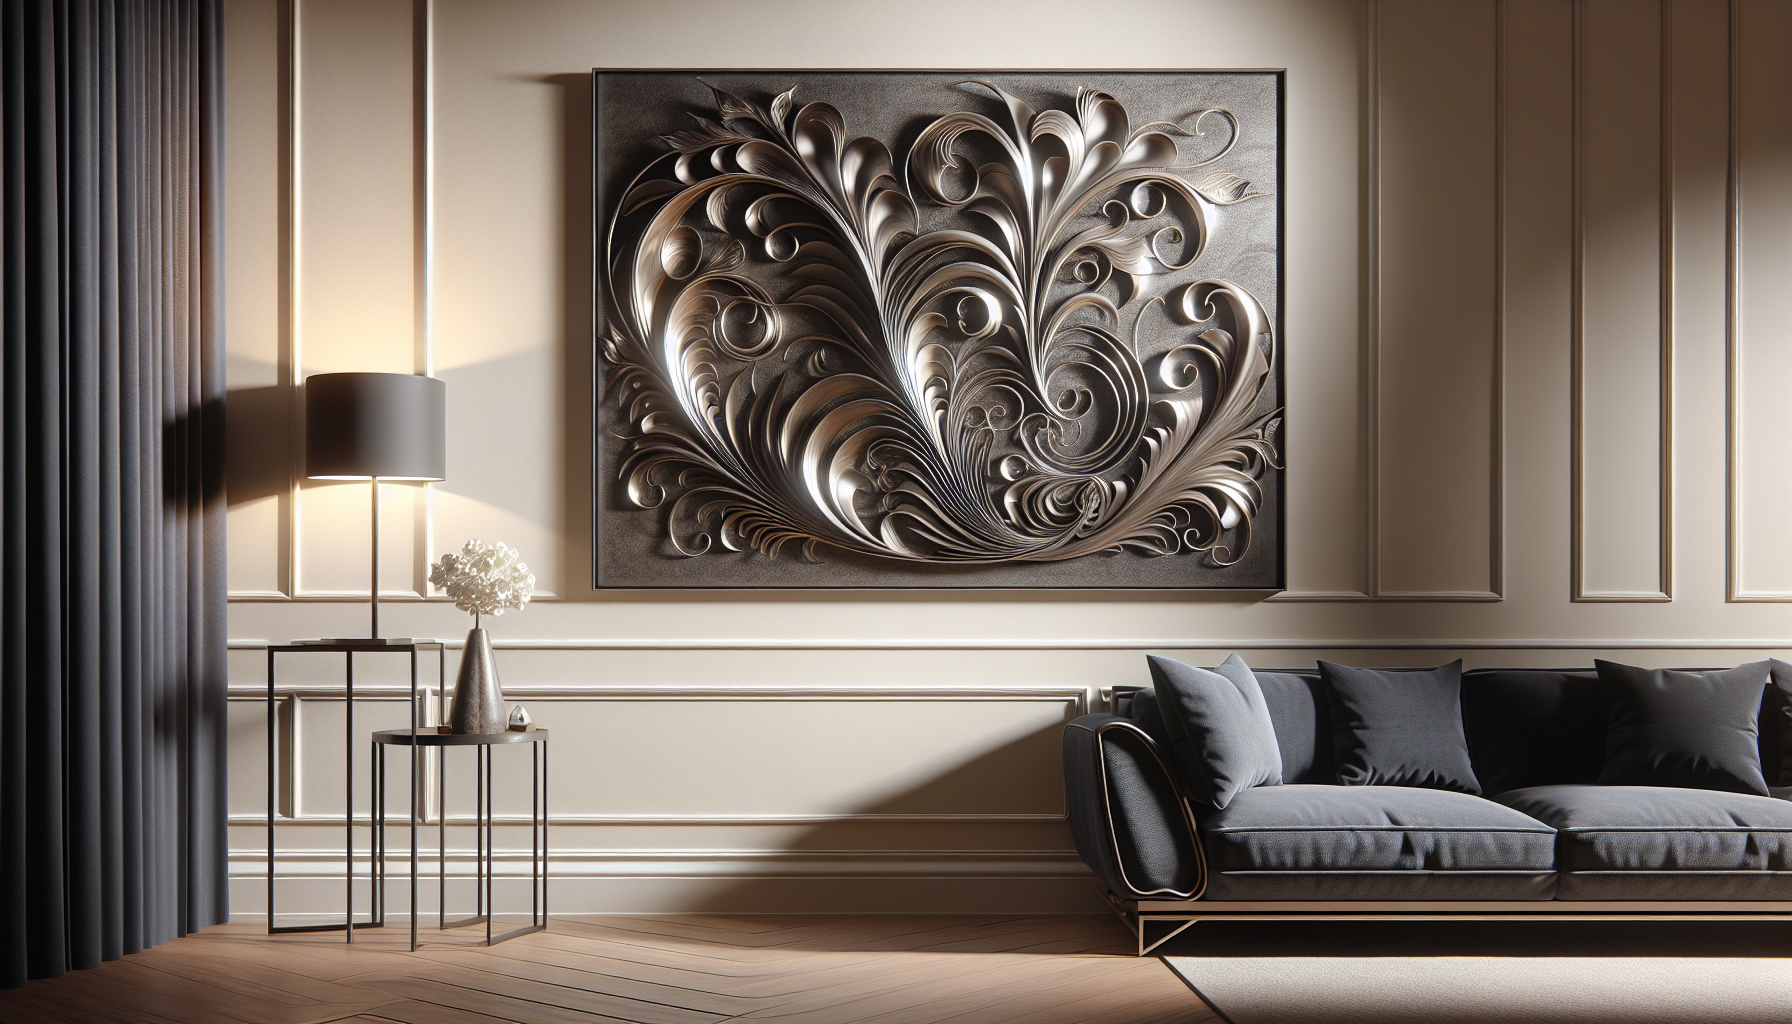
When it comes to hanging metal wall art, the first step is to choose the right location. Take a moment to consider the room and the overall decor. Think about the style and theme of the space and how the metal wall art will fit into that aesthetic.
Additionally, it is important to ensure proper lighting for the artwork. Consider the natural light and any artificial lighting sources in the room. Metal wall art can sometimes be reflective, so you want to make sure it’s placed in a spot where it won’t create unwanted glare or reflections.
Lastly, check the wall material. Is it drywall, plaster, or another type of material? This will determine the type of hanging method you’ll need to use and the tools required for the job.
Step 2: Prepare the Wall
Once you’ve chosen the location for your metal wall art, it’s time to prepare the wall. Start by measuring and marking the desired location. Using a measuring tape and a pencil, carefully mark the spot where you want the artwork to hang.
Next, check for studs or anchors in the wall. Studs are vertical beams behind the wall that provide additional support. If you’re able to hang the metal wall art on a stud, it will likely be more secure. Use a stud finder or rap your knuckles against the wall to locate these spots. If studs aren’t available, you’ll need to use wall anchors to ensure a sturdy installation.
Before drilling any holes, it’s important to clean the wall surface. Remove any dust, dirt, or debris that may interfere with the hanging process. This will help ensure a smooth and secure installation.

Step 3: Gather the Necessary Tools
Before you can begin hanging your metal wall art, gather all the necessary tools. Here’s a list of the items you’ll need:
- Drill or screwdriver: Depending on the wall material, you’ll either need a drill or a screwdriver to attach the artwork to the wall.
- Level: A level is essential for ensuring your metal wall art hangs straight and level on the wall.
- Measuring tape: Use a measuring tape to accurately measure the distance between the top of the artwork and the corresponding location on the wall.
- Pencil: A pencil will be used to mark the wall for precise hanging.
- Hammer: A hammer may be needed to insert wall anchors or screws into the wall.
- Wall anchors or screws: Depending on the wall material and the weight of the metal wall art, you may need wall anchors or screws to provide additional support.
Having all these tools on hand will make the hanging process much smoother and more efficient.
Step 4: Prepare the Metal Wall Art
Before you hang your metal wall art, take the time to prepare it properly. Check for any hardware or mounting brackets that may already be attached to the artwork. These pieces will dictate the hanging method you’ll need to use.
If there are any protective coverings on the metal wall art, remove them carefully. This will ensure that the artwork is not damaged during the hanging process and that it looks its best on the wall.
If necessary, clean the artwork to remove any dust or fingerprints. A soft, lint-free cloth or a feather duster can be used to gently wipe away any dirt and debris. This will help the metal wall art shine and stand out once it’s hanging on the wall.

Step 5: Determine Hanging Method
There are various hanging methods you can choose from to hang your metal wall art. The method you select will depend on the type of hardware or mounting brackets on the artwork, as well as your personal preference.
One option is to use a wire or a hanging hook. This method is often used for metal wall art that has a wire or hook on the back. Simply hang the wire or hook on a nail or hook that’s securely fastened to the wall.
Another option is to use adhesive strips or hooks. These are great for lightweight metal wall art that doesn’t require a lot of support. Follow the manufacturer’s instructions for attaching the adhesive strips or hooks to the wall and the artwork.
Alternatively, you can use a mounting bracket. This method is especially useful for heavier metal wall art. It provides extra stability and support. Attach the mounting bracket to the wall following the manufacturer’s instructions, and then hang the artwork on the bracket.
Step 6: Measure and Mark
To ensure that your metal wall art hangs at the desired height and level, you’ll need to measure and mark the wall. Measure the distance from the top of the artwork to the hanging point, whether it’s a wire, hook, adhesive strip, or mounting bracket.
Once you have this measurement, use a measuring tape and a pencil to mark the corresponding location on the wall. Double-check your measurements to make sure everything is accurate and precise. This will save you from any potential mistakes or adjustments later on.

Step 7: Install Wall Anchors or Screws
Now it’s time to install the wall anchors or screws. If you’re using wall anchors, you’ll need to drill pilot holes first. Use a drill bit that matches the size of the wall anchor. Drill the pilot holes carefully, ensuring they are the correct depth and width for the anchors.
Once the pilot holes are drilled, insert the wall anchors or screws into the wall. If you’re using screws, make sure they’re long enough to securely fasten the artwork to the wall. Follow the instructions provided with the wall anchors or screws to ensure proper installation.
Step 8: Hang the Metal Wall Art
With the wall anchors or screws in place, it’s time to hang your metal wall art. Carefully attach the artwork to the wall anchors or screws, making sure it hangs securely. If using a wire or hook, place it over the nail or hook. If using adhesive strips or hooks, follow the manufacturer’s instructions for attaching the artwork.
Once the artwork is in place, securely fasten it to the wall. Make any necessary adjustments to ensure that it hangs straight and level. Use a level to double-check the alignment and make any final adjustments if needed.

Step 9: Double-check and Make Final Adjustments
After hanging your metal wall art, take a moment to double-check everything. Make sure the artwork is securely attached to the wall and doesn’t wobble or move. Verify the levelness of the artwork using a level. If any adjustments are needed, make them now to ensure the perfect display.
Take the time to step back and admire your beautifully hung metal wall art. Stand at different angles and distances to appreciate how it enhances the room. If you notice any additional adjustments that need to be made, take care of them to achieve the desired result.
Step 10: Enjoy!
Congratulations! You have successfully hung your metal wall art. Now it’s time to step back, relax, and enjoy the beauty it brings to your space. Take a moment to appreciate the effort you put into the hanging process and how it has transformed the room’s ambiance.
Feel free to make any additional adjustments if desired. Sometimes, after living with the artwork for a while, you may decide to change its position or height. The flexibility of metal wall art allows you to experiment and find the perfect spot.
Now, sit back and revel in the joy of having a stunning piece of metal wall art adorning your walls. It’s a unique and artistic addition that adds personality and charm to your home. Enjoy!
