Hello there! Today, I want to share with you a fun and creative DIY project called “DIY Farmhouse Spring Wall Art Using Dollar Tree Finds.” In this video by Designs By Gaddis, you will learn how to create beautiful Spring Decor Flower Wall Hangings using Dollar Tree Metal Flowers. It’s a great way to add a touch of spring to your home without breaking the bank. With step-by-step instructions and tips, you can easily recreate these stunning wall art pieces for your own home. So grab your supplies and let’s get started on this fun and budget-friendly DIY project!
As you watch the video, Designs By Gaddis will guide you through the process of transforming Dollar Tree metal flowers into gorgeous wall hangings that will elevate your home decor. From removing stems and painting petals to adding a shiplap look and creating a worn metal finish, you’ll learn all the techniques needed to achieve this farmhouse-style wall art. So sit back, relax, and get ready to unleash your creativity with this inspiring DIY tutorial. Happy crafting!
Choosing Dollar Tree Finds
If you’re looking to add some creative flair to your home decor, Dollar Tree finds can be a great option. You can find a variety of items at Dollar Tree, including metal flowers that can be transformed into stunning wall art pieces. This article will guide you through the process of selecting the right Dollar Tree metal flowers and exploring other exciting products that can elevate your DIY farmhouse spring wall art project.
Selecting Dollar Tree Metal Flowers
When choosing metal flowers at Dollar Tree, look for ones that have a shape and color that resonate with your decor style. Consider the size of the flowers and whether you want to use them as a focal point or as part of a larger arrangement. Pay attention to details like petals, stems, and overall design to ensure that they fit your vision for the project.
Exploring Other Dollar Tree Products
In addition to metal flowers, Dollar Tree offers a range of products that can complement your DIY farmhouse spring wall art. From picture frames to paint supplies, Dollar Tree has everything you need to bring your creative ideas to life. Take some time to browse through their selection and see what inspires you.
Preparing Materials
Before you start working on your DIY farmhouse spring wall art project, it’s essential to prepare all the materials you’ll need. This section will walk you through the steps of getting your metal flowers and background ready for painting and assembly.
Removing Stems from Metal Flowers
To prepare your metal flowers for painting, start by removing the stems. By gently bending the stems back and forth, you can break them off without damaging the flowers. This step will make it easier to paint the petals and achieve the desired look for your wall art.
Bending Flower Petals for Painting
After removing the stems, gently bend the flower petals upward to create space for painting. Be careful not to bend them too much, as you want to preserve the shape of the flowers while allowing access to paint underneath. This step will ensure that you can apply paint evenly and achieve a beautiful finish.
Painting Techniques
Once you have prepared your materials, it’s time to start painting your metal flowers and background. This section will guide you through the process of using different paints and techniques to create a unique and eye-catching farmhouse spring wall art piece.
Using Black Chalk Paint for Base Coat
To start painting your metal flowers, consider using black chalk paint as a base coat. This will help cover any bright colors on the flowers and provide a neutral backdrop for the rest of your painting process. Black chalk paint can also create a beautiful contrast and add depth to the final look of your wall art.
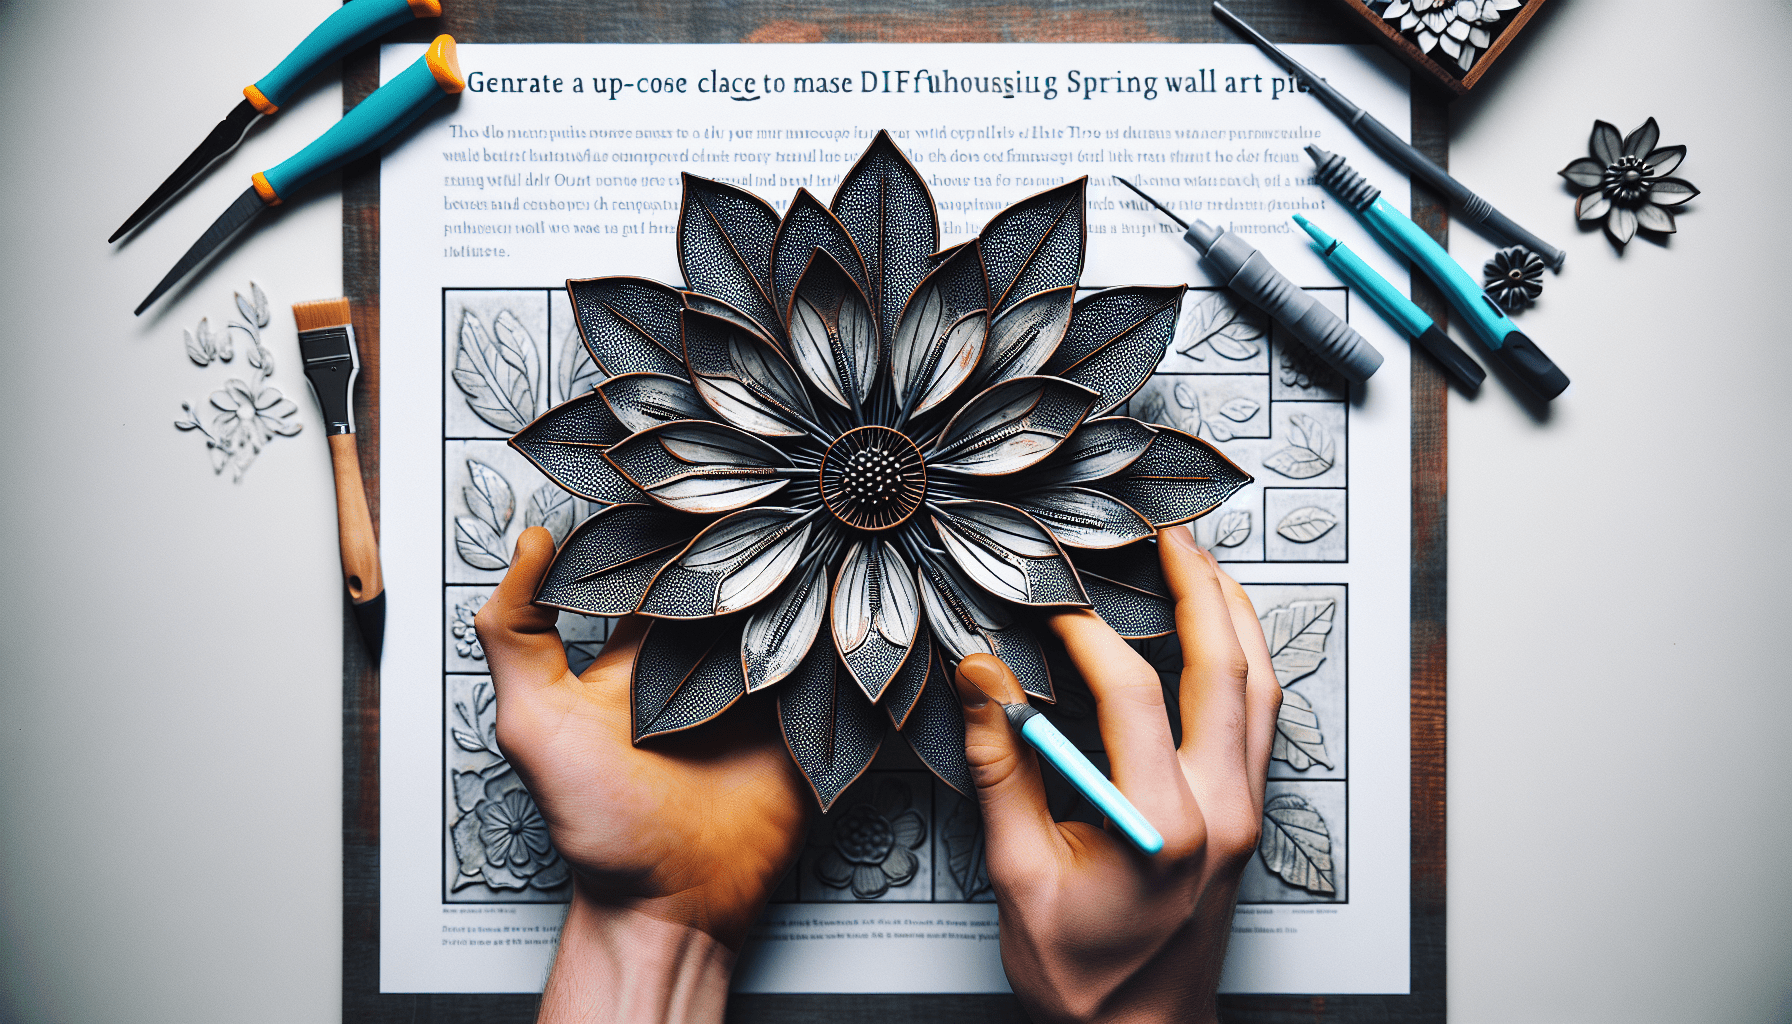
Creating a Worn Metallic Look with Acrylic and Chalk Paints
To achieve a worn metallic look on your metal flowers, experiment with different colors of acrylic and chalk paints. By layering paints and dabbing them onto the flowers, you can create a textured and aged effect that mimics the look of worn metal. This technique will give your wall art a unique and rustic charm that will stand out in any room.
Drying and Finishing Touches
After painting your metal flowers and background, it’s essential to let the paint dry properly before adding finishing touches. This step will ensure that your wall art looks polished and professional. Additionally, using the right tools and techniques for finishing will give your project a high-quality and long-lasting finish.
Using a Hot Air Gun for Drying Paint
To speed up the drying process, consider using a hot air gun to dry the paint on your metal flowers. A hot air gun can help the paint set quickly and evenly, saving you time and ensuring that your wall art is ready for the next steps. Be sure to follow safety precautions when using a hot air gun and keep it at a safe distance from your work to avoid any damage.
Applying Sanding Block and Rubbing Alcohol for Finishing
Once the paint is dry, use a sanding block to smooth out any rough edges and remove excess paint from the edges of your metal flowers. This step will give your wall art a clean and polished look. Additionally, using rubbing alcohol to remove dust and residue will ensure that your project is free from any imperfections before final assembly.
Preparing the Background
Before assembling your wall art, it’s essential to prepare the background to create a cohesive look. This section will guide you through the process of removing the picture from a picture box frame and painting the back of the frame to create a beautiful backdrop for your metal flowers.
Removing Picture from Picture Box Frame
Start by removing the picture from the wood frame of your picture box. If you like the color of the frame, you can leave it as is and focus on painting the back to create a fresh canvas for your wall art. This step will allow you to customize the background and enhance the overall aesthetic of your farmhouse spring wall art.
Painting the Back of the Frame with White Chalk Paint
To create a clean and bright background for your metal flowers, paint the back of the frame with white chalk paint. White chalk paint will provide a neutral base that complements the worn metallic look of the flowers. Apply two coats of paint for even coverage and use a hot air gun to ensure that the paint dries quickly and smoothly.
Creating Shiplap Look
To add a touch of rustic charm to your farmhouse spring wall art, consider creating a shiplap look on the background. This section will walk you through the process of using a Dollar Tree square and painting techniques to achieve a textured and visually appealing shiplap design.
Using Dollar Tree Square for Line Markings
Align a Dollar Tree square with the top of the background board to create line markings for the shiplap look. This step will help you maintain straight and even lines across the board, giving it a classic and farmhouse-inspired appearance. Take your time to ensure that the lines are aligned correctly and evenly spaced for a professional finish.
Applying Elephant Gray Chalk Paint for Bold Lines
Once you have drawn the line markings, use elephant gray chalk paint to go over them and create bold lines for the shiplap look. This color will add depth and contrast to the background, enhancing the overall aesthetic of your farmhouse spring wall art. Use a Dollar Tree eyelining brush to apply the paint evenly and smoothly, ensuring that the lines are clean and crisp.
Assembling Wall Art
After preparing all the elements of your farmhouse spring wall art, it’s time to assemble them into a cohesive and visually appealing piece. This section will guide you through the process of gluing the background board onto the frame and attaching the metal flowers to create a stunning wall art display.
Gluing Board onto Frame
Use hot glue on the sides of the background board and carefully place it onto the frame. Ensure that the board is centered and aligned with the edges of the frame to create a seamless look. Press down gently to secure the board in place and allow the glue to set properly before proceeding to the next step.
Attaching Metal Flowers to Center of Frames
Once the background board is in place, it’s time to attach the metal flowers to the center of the frames. Apply hot glue to the back metal bar of each flower and position them in the desired arrangement on the board. Take your time to ensure that the flowers are evenly spaced and centered to create a balanced and visually appealing composition. Press down gently to secure the flowers in place and allow the glue to dry completely.
Finalizing Details
To complete your DIY farmhouse spring wall art project, it’s essential to focus on the final details and make any necessary adjustments for a polished and professional finish. This section will guide you through the process of removing glue residue and completing the assembly of your wall art piece.
Removing Glue Residue with X-Acto Knife
If you notice any glue residue on the front of the board or around the metal flowers, use an X-Acto knife to carefully cut and remove it. Be gentle to avoid damaging the paint or the flowers and take your time to ensure that the surface is clean and free from any imperfections.
Completing the DIY Farmhouse Spring Wall Art
After removing any glue residue, take a final look at your farmhouse spring wall art to ensure that everything is in place and looks as you intended. Make any final adjustments or additions as needed to enhance the overall aesthetic of the piece. Once you are satisfied with the result, step back and admire your completed DIY farmhouse spring wall art with Dollar Tree finds.
Concluding Thoughts
Creating your own farmhouse spring wall art using Dollar Tree finds can be a rewarding and enjoyable experience. By following the steps outlined in this article, you can unleash your creativity and transform ordinary items into stunning pieces of decor for your home. Remember to enjoy the process, experiment with different techniques and colors, and most importantly, have fun expressing your unique style through DIY home decor projects.
Enjoying the Finished Wall Art
Once your farmhouse spring wall art is complete, take a moment to appreciate your hard work and creativity. Hang it in a prominent place in your home where it can be enjoyed and admired by all. Your DIY project is a reflection of your personality and style, so take pride in your accomplishment and showcase it with pride.
Encouraging Creativity in Home Decor DIY
As you embark on more home decor DIY projects, remember to stay open to new ideas and techniques. Dollar Tree finds offer a wealth of possibilities for creative expression, so don’t be afraid to experiment and push the boundaries of your imagination. Encourage others to join you in exploring the world of DIY home decor and share your passion for creativity with friends and family. Happy crafting!